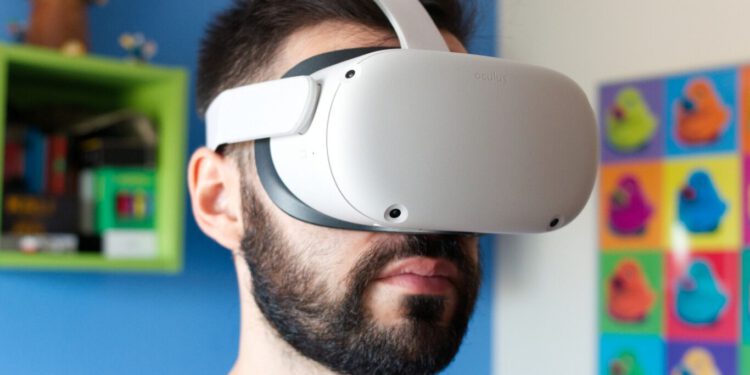
It is possible play games of virtual reality in PC thanks to Oculus Quest 2. Although it works independently, we can also connect it to our computer to enjoy a complete virtual reality experience. Let’s see how we should do this!
What are we gonna need?
- Obviously the first thing is to have the Oculus Quest.
- In turn, we need a computer that has the ability to use this technology.
- A USB 2.0 cable, although it would be better to have a 3.0 that has a USB-C connector for wired connection.
- It is also necessary to have a 5 Ghz 802.11 ac / WiFi5 router or better connected to our computer via Ethernet cable.
- The Oculus Quest software for Windows.
- Some virtual reality game.
We must keep in mind that the USB cable should be long enough to be able to adapt to the type of virtual reality experience we want to live. If we just want to stay seated, we won’t need too long a cable. However, if we want to stop and enjoy other experiences, a longer cable would be ideal and necessary.
How to use Oculus Quest 2 on PC to play virtual reality games
The first time we use Oculus Quest 2 on our computer, it will be necessary to configure it. The first thing we will do is download the Oculus Software for Windows and install it. The download is about 5 GB so depending on the connection it may take a little longer or a little less.
During installation we will be prompted to log in; Quest 2 users need to have a linked Facebook account. After logging in to Oculus, we’ll have to start setting up.
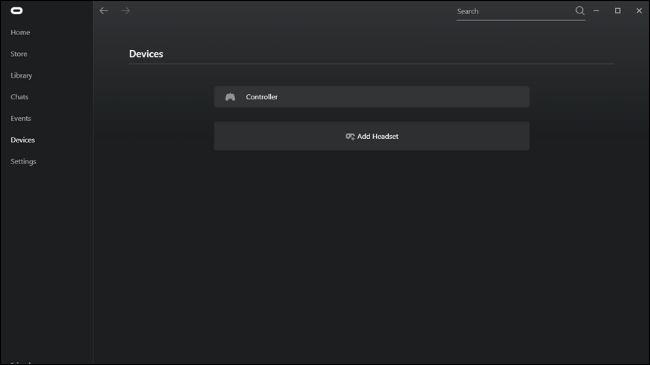
Let’s go to “Devices” in the left sidebar”” Then we will click on “Add Headset”or “Add Device”.
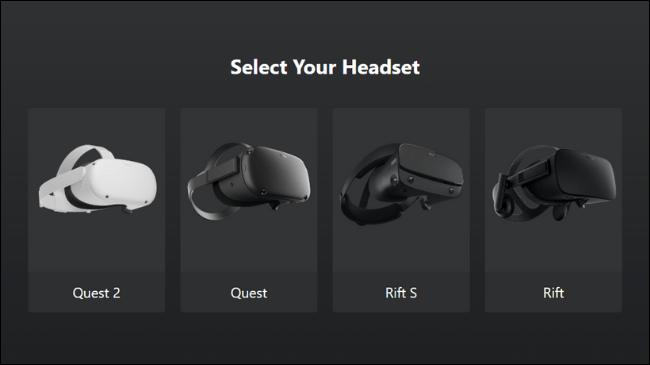
Then we will have to choose the model that we have available. In our case it’s going to be Quest 2.
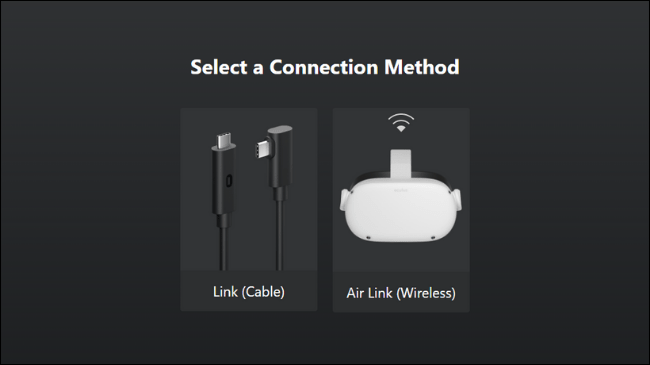
Now we will have to choose the connection method. We honestly recommend you do it by “Link (Cable)” because although the same cable can be somewhat annoying, we can not deny that it is more reliable and stable than a wireless connection; also, here we want to have a smooth experience so it is much better.
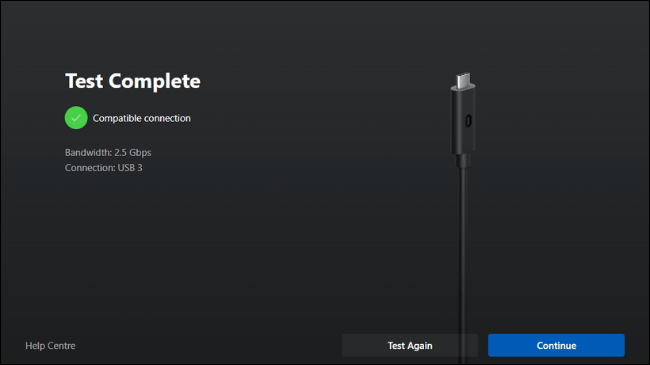
What we’ll do now is connect the Quest 2 cables to the computer. If we are using a USB 3 cable we must make sure to connect it to a USB 3 port on our computer.
After this, we will be given the opportunity to test such cable. Our recommendation is that we do this to make sure we have a good connection to have a great experience. If we use a USB 2 cable, we will receive a warning. We can play with a USB 2, but obviously the image will be more compressed and the performance will not be so good.
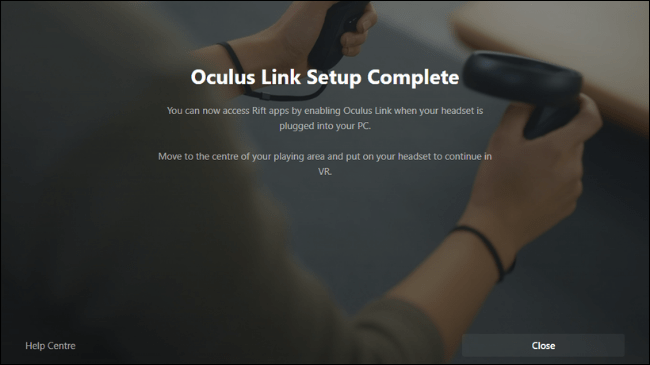
After this we will get to the “Full Settings ” screen, close it, put on Oculus Quest 2 and it’s time to start playing.
Share it with your friends!
