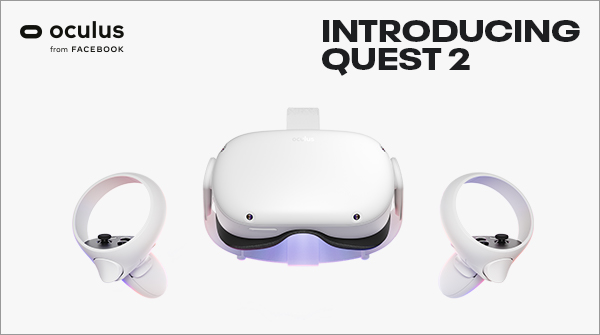
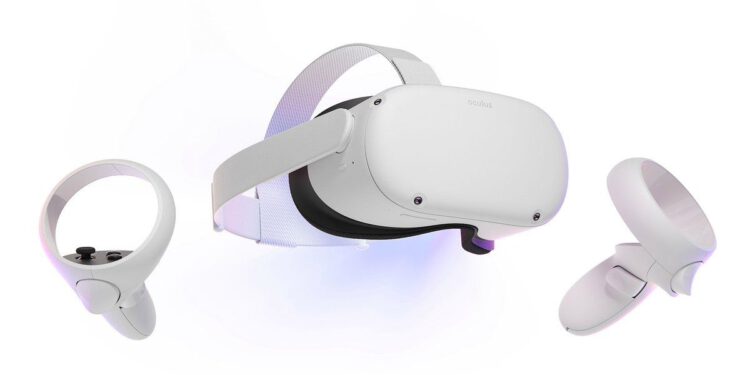
VR Gaming always gave us different experiences instead of playing on PC or consoles with the ability to move freely using a motion controller that takes hand-eye coordination to a new level and its images that add the icing on the cake. Oculus Quest 2 is the virtual reality viewer of choice for many gamers who prefer a smooth gaming experience with beautiful images to further expand their experience. Just like PC games, you can further improve the quality of games in Oculus Quest 2 to make the game look more real. That said, here’s our guide on how to improve the quality of the Oculus Quest 2 graphics to give you the VR experience you’ve always wanted.

How to improve the graphics of Oculus Quest 2
Oculus Quest 2 is considered one of the best affordable VR headsets that offers phenomenal performance and improves Quest 1 in many ways. There are many beautiful virtual reality games that many players enjoy, such as Half-Life Alyx and Resident Evil 4, which offer the best experience when playing in virtual reality. However, many players reported that the graphics looked blurrier or smoother. To fix it, we have some tricks that you can use to improve the images and make it more enjoyable. That said, this is how you can improve the graphics of Oculus Quest 2.
Register as an Oculus developer
To access the advanced features of Quest 2, register your Oculus developer account here. Once you are done with that, you will be sent to the organization page, enter the name of your organization and check the “I understand” checkbox, and click Submit.
Download ADB drivers
If you are using Oculus Quest 2 on a PC, you should download the ADB drivers on your PC, as Mac and Linux users do not require it. You can download the drivers here. After visiting the page, click on the blue download button at the top right of the screen. After downloading it, extract the files and open the USB driver folder. Now, right-click on the file “android_winusb.inf” and click Install. Restart your computer after installing the driver for this to take effect.
Enable developer mode
Now that you have finished installing the drivers, the next thing you need to do is enable developer mode. To do that, make sure your quest 2 is turned on and connected to the same wifi network as your phone. Also, make sure that your phone’s Bluetooth is turned on. Now, open the Oculus app on your mobile devices, tap the menu and under the devices, scroll down until you see the developer mode option. Now, activate it.
Install SideQuest
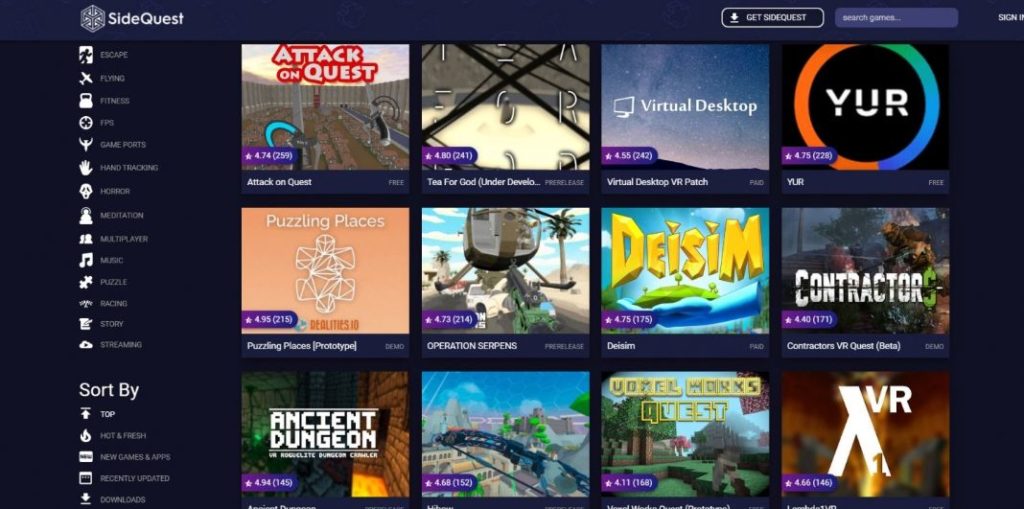
SideQuest can now take effect after enabling developer mode. It is similar to the Oculus app and allows users to purchase games intended for Oculus Quest 2 and present some games that are not available on the official Oculus website.

Since this is an unofficial application, you need to manually upload them to your VR headset, after that, enable the “Unknown Sources” in the application menu. Anyway, to modify the graphics of your games, Sidequest also has several tools that you can use to increase the resolution of the games to make them look sharper and more detailed. Select the version of your operating system and click the download button. Visit the official SideQuest download page here.
Now, launch the installation file and follow the on-screen instructions to complete the installation. After that, open the app and connect your Oculus Quest 2 to your PC. Put on your headphones and you will see the option “Allow USB debugging”. Click on “always allow from this computer” every time you want to use the application, and if you are using it once, just click on the “allow” button next to it. In addition, grant access to the data once the warning screen appears and click “Allow” once again.
Settings you need to change in SideQuest
In the main Sidequest window, you will see a green button indicating that your headphones are connected, the address of your network ISP and the level of your battery. Click on the wrench icon at the top right of the interface and you will see various customization options such as refresh rate, chromatic aberration, full frequency capture and many more.
The setting you want to change is “Default texture size”, which increases the resolution of the game. Select the one that is most comfortable for you. You can also set the CPU and GPU to level 2 or level 4, as it helps some games work better. The only drawback to this is that these settings are temporary, so you have to enable them again and again if you restart your Oculus Quest 2.
Note: if you increase the default texture size to a very high value, your fps in the game will be affected. Therefore, be sure to take this into account before increasing the value of the texture size.


