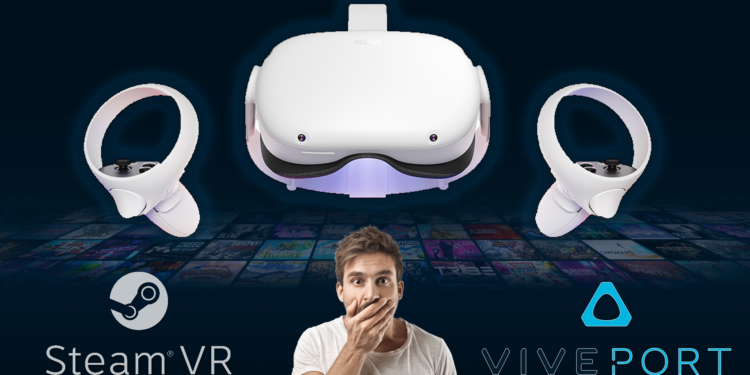
This week many of us will have at last in our desired hands Oculus Quest 2, and many of you will have read about Virtual Desktop and his virtues.
Well, you are in the right place, in this tutorial you teach everything you need to get play your PC games on Oculus Quest 2 wirelessly via Virtual Desktop.
Start…
First you have to make a note. User experience may vary depending on hardware environmental variables, architectural, etc.
STEP 1. Have a PC compatible with virtual reality games.
Obviously, if our PC does not have the requirements minimums to run virtual reality games, he can hardly do it. and transmit it via WIFI to another device. This is logical.
STEP 2. Eliminate architectural or electromagnetic barriers between the router and the glasses.
As experienced people in the world of the internet I suppose you will know what a 5G router, the WIFI and how it works. You will be aware of the interferences that carry the distance to the router, electromagnetic wave sources, multiple connections, etc.
So … , near the router, with few or no devices connected to the wifi and away from microwaves or fridges. Aluminum foil cap is optional.
Eye, it is important that the router is 5G, if you do not have it you can remove the chip from the vaccine.
STEP 3. Have some virtual reality game.
I’m sorry for the platitudes, but this is the case. Need access to some virtual reality game so I can play.
Steam or VivePort they are two great alternatives to the hideous temptation to fall into the dark side of obtaining software.
Remember that programmer video games have the bad, but respectable, habit of eating.
STEP 4. Buy Virtual Desktop in the Oculus store.
What? Buy? ¡Come on, man!!
Yeah, okay, I know that nobody wants to spend a single euro on anything and less after having bought the Oculus Quest 2, but it’s just that Virtual Desktop it is a commercial software, and it’s worth 20 €.
On the other hand, let me tell you it’s worth every penny. The possibilities it offers us should come as standard.
Before following a warning: “YOU HAVE TO BUY THE VIRTUAL DESKTOP IN THE OCULUS STORE IS NOT VALID ON STEAM«.
This is a problem that was common among Quest 1 users, they bought the Steam version and then it didn’t work. Well, yes., the Steam version IT’S NO GOOD FOR QUEST.
STEP 5. Install SideQuest.
If you buy the Virtual Desktop it was not enough, we still have one step to do to make it work properly.
The version of Oculus Quest has some options that can be “released” with the application of a patch we found in the alternative shop SideQuest.
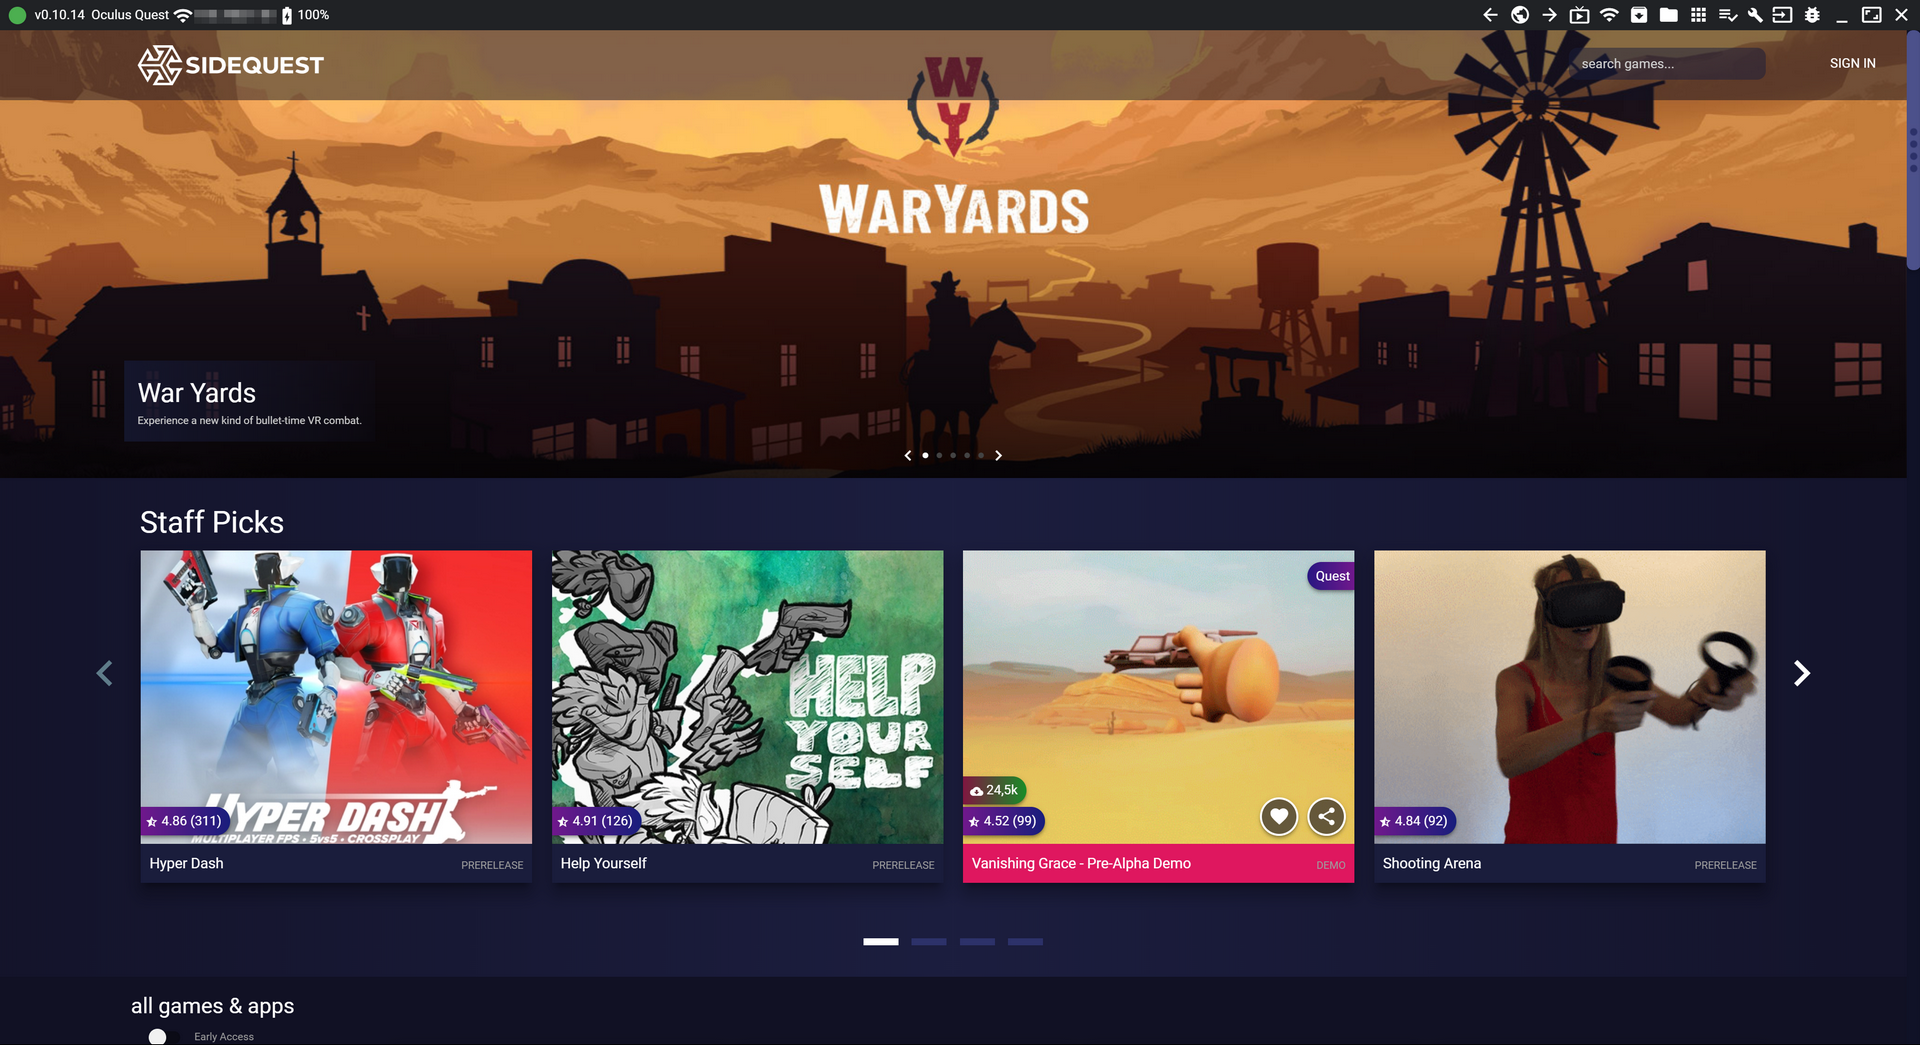
Once downloaded and installed we can move on to the next step.
If you need more information about the installation process we recommend keep an eye on the Guide: Install SideQuest and don’t die trying.
STEP 6. We patch Virtual Desktop.
We will connect our glasses switched on to PC by cable, until in the SideQuest it appears that they are connected.
We will accept and enable data transmission to the PC
Next we will look for the latest version of Virtual Desktop (to this day is the 1.16.2.0) in the store and we will proceed to install it.
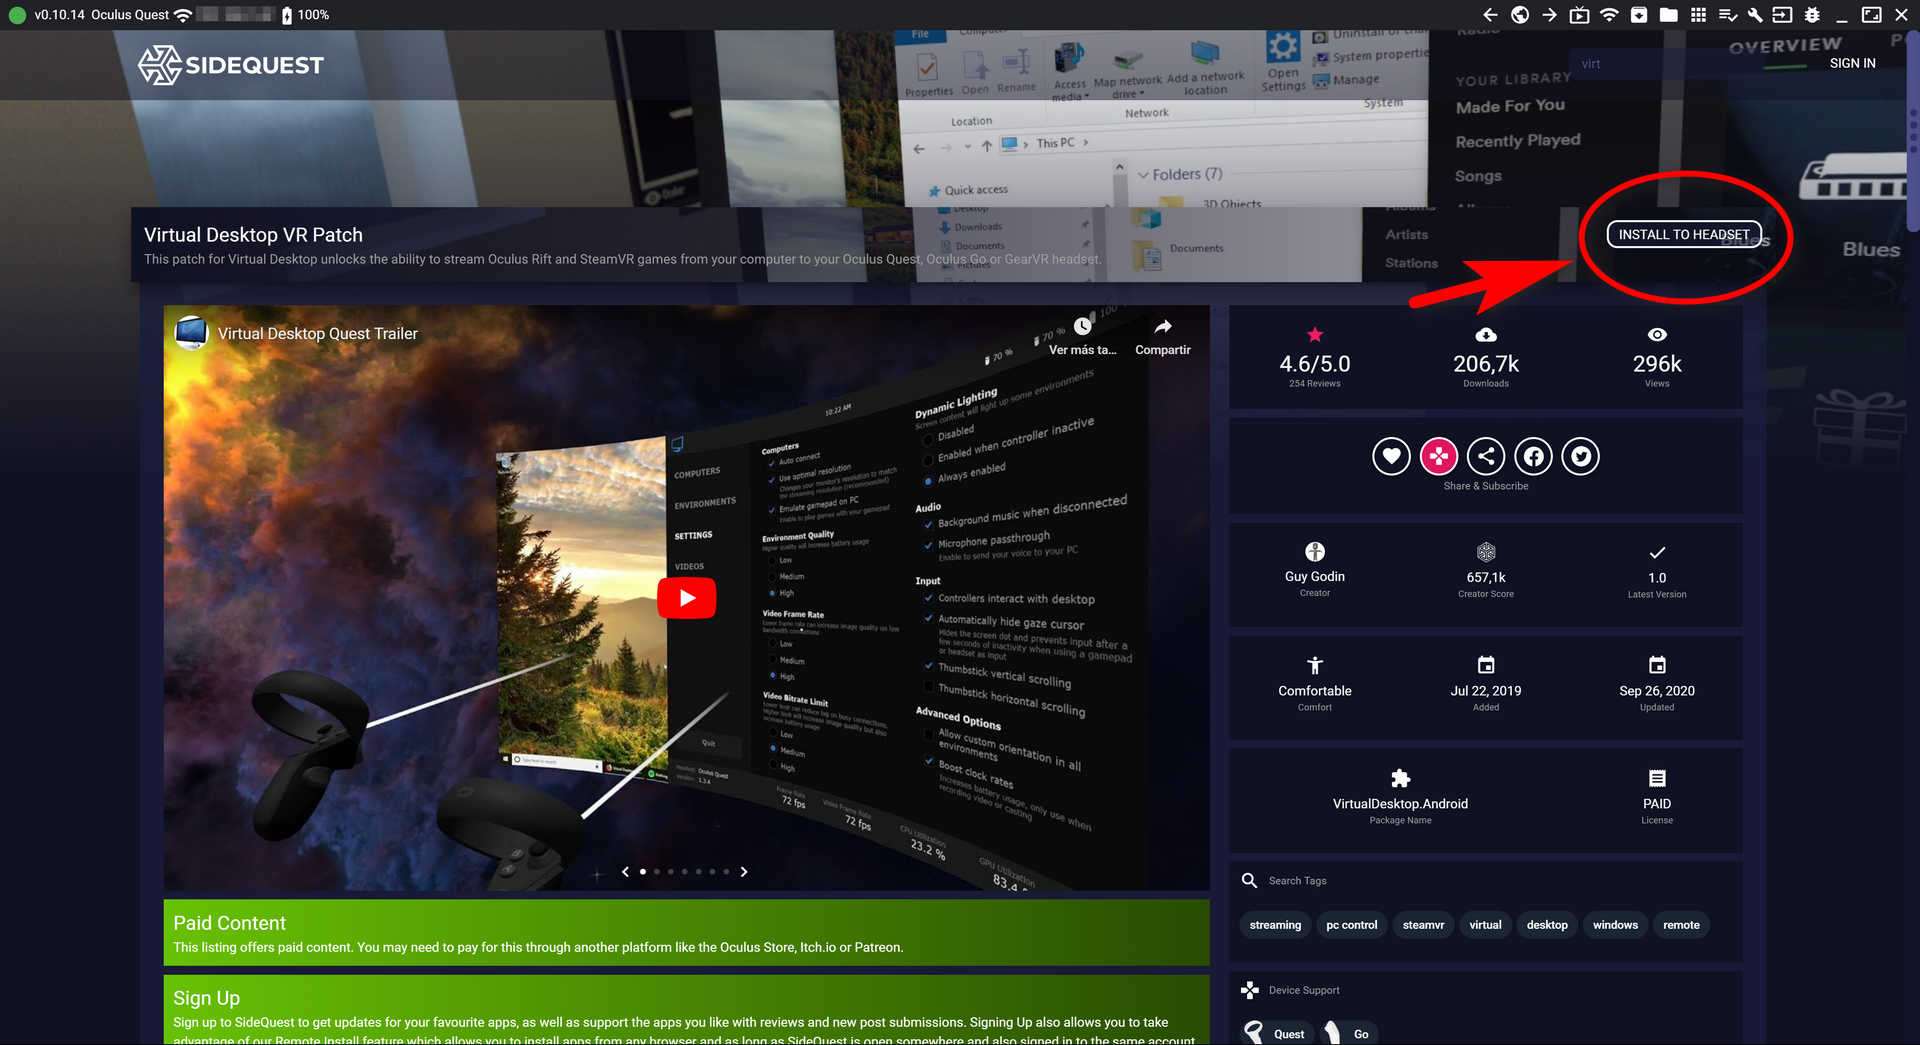
Press the install button and wait for the process to complete, which usually does not last more than a few seconds.

There’s not much left…
STEP 7. Install Virtual Desktop Streamer on PC.
This is easy. To be able to “stream” our games from the PC to the Quest 2 we need a program that makes server.
This Streamer can be found on the official website of Virtual Desktop and its configuration is very simple.
The first thing is to enter yours user name or oculus id.
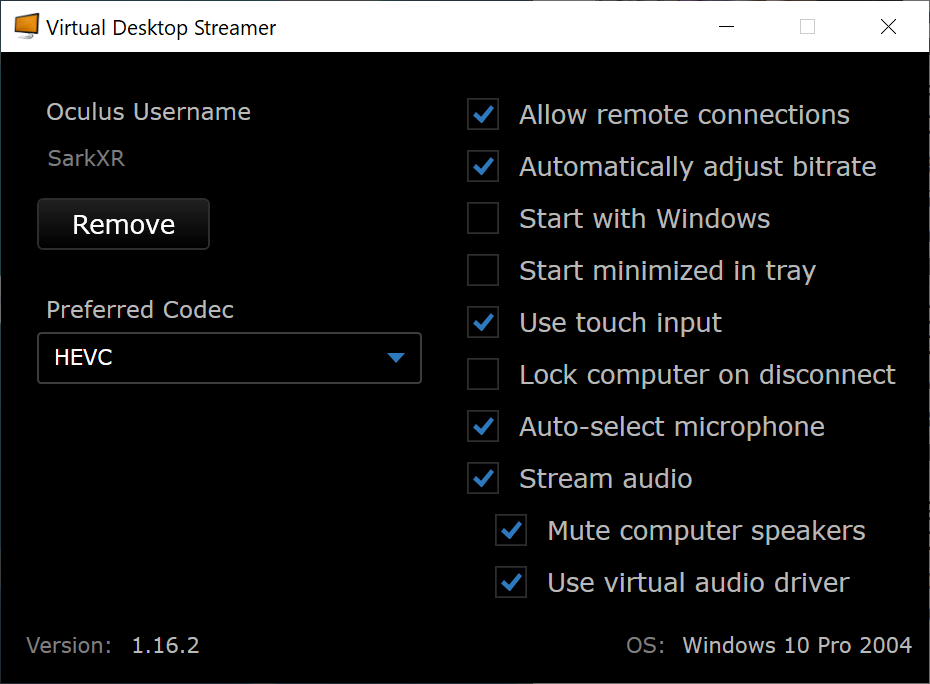
The video codec can be changed depending on your tastes or experience, or even leave it as automatic if you do not want to complicate your life.
You can also check the start with Windows box if you don’t want to have to start it every time.
STEP 8. We run Virtual Desktop on the glasses.
With the glasses loaded, connected to the same WIFI as our server PC and with a few years more than we had when we started this tutorial, the time has come to run Virtual Desktop in the library of our viewer.
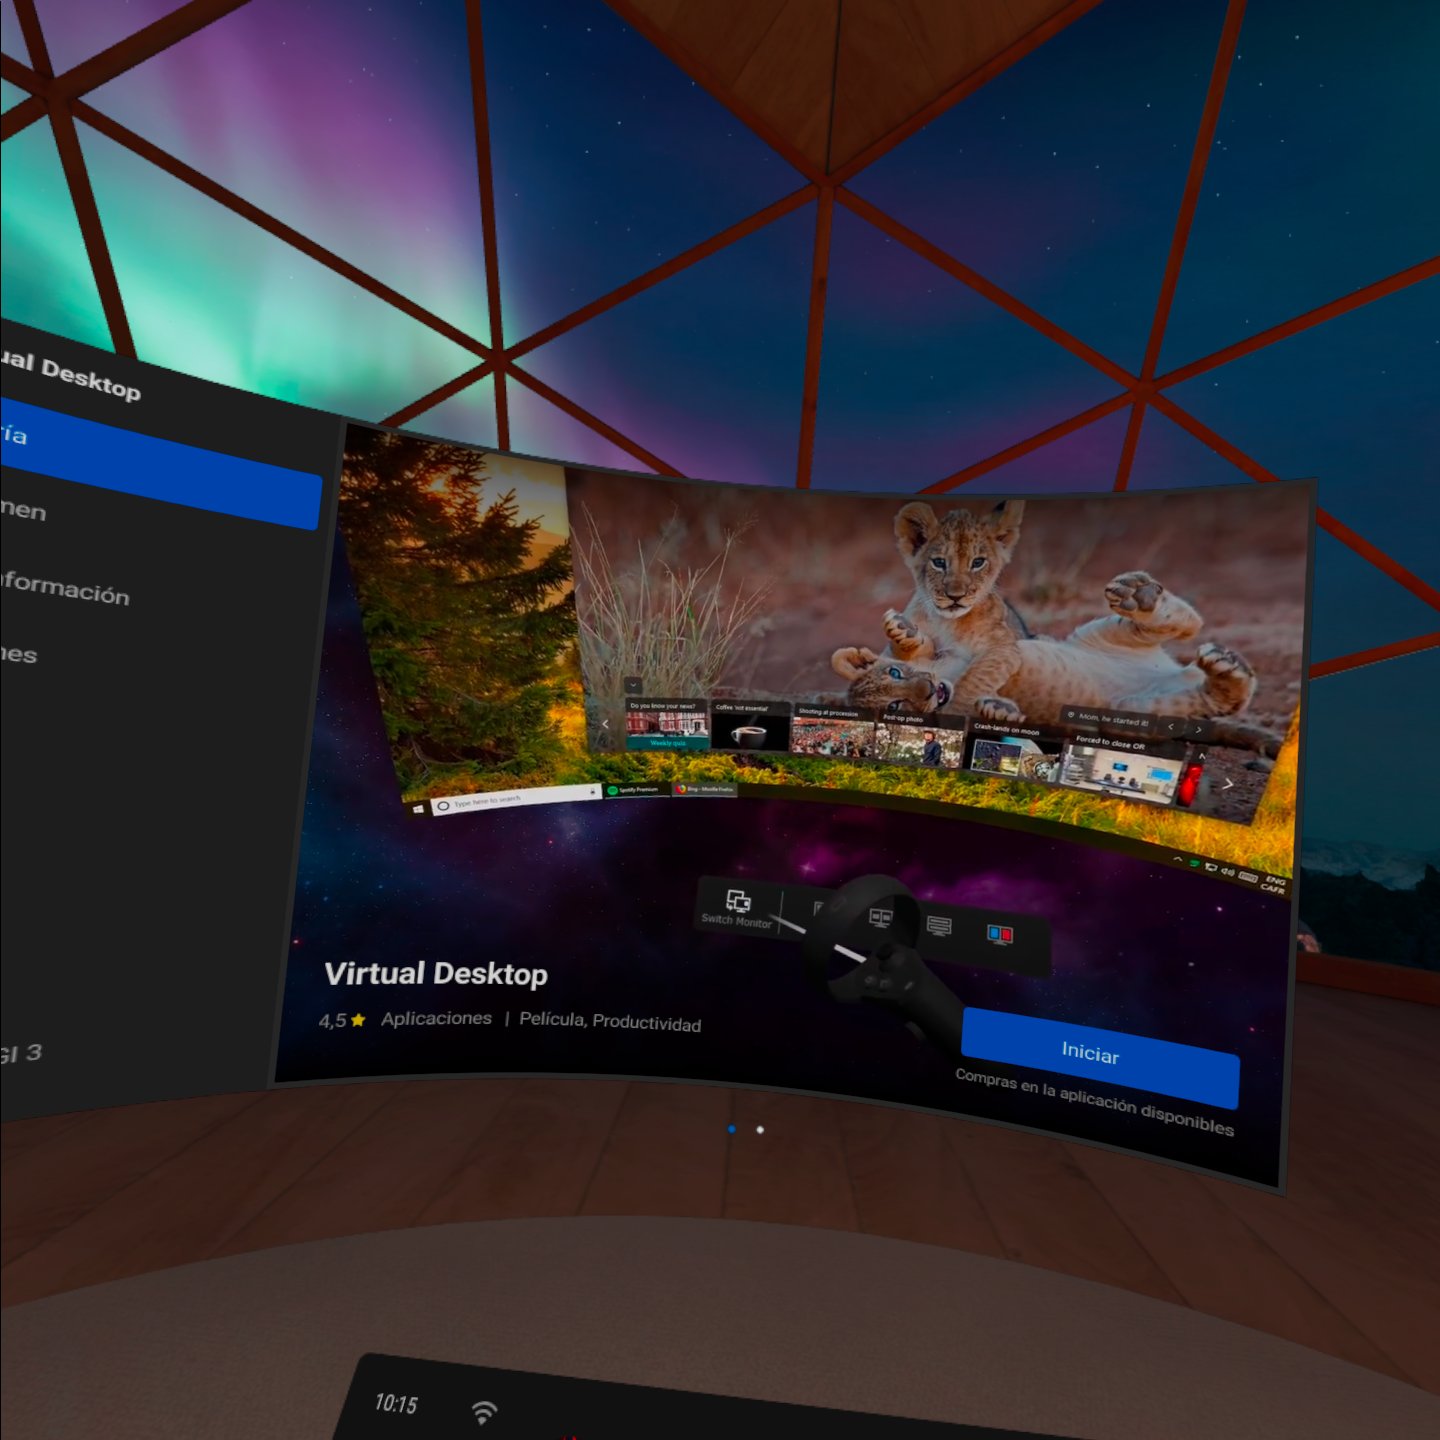
We will see a connection screen in which our server PC should exit.
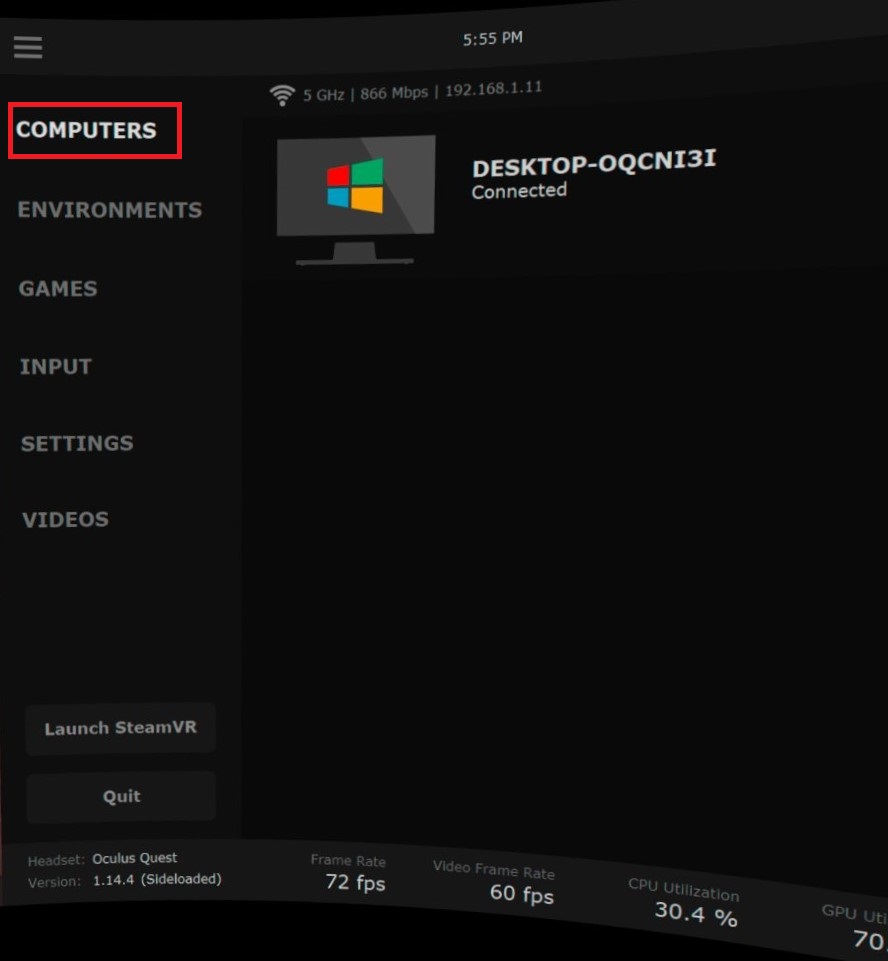
And once connected we it will show our desktop as if we were sitting in front of the monitor.

STEP 9. We run the VR game.
Controlling the PC with our controllers Oculus Quest we will be able to launch our applications, either desktop or virtual reality.
This will be the moment when we will open our gaming platform prefer and we will dedicate ourselves to play no wires to the games that once tried to strangle us.
It may happen to you that you the Game appears in desktop mode and not in VR… in that case we will have to give the button “Swith to VR” and done…
STEP 10. Final notes.
If you found it interesting, leave your comments to raise the morale of a poor writer with self-esteem problems.
If on the other hand you have found it a roll, you can also check the following video of Carlos (@jugon_virtual) on our YouTube channel.
Greetings and congratulations to the winners who, at this time will already be opening the boxes of Oculus Quest 2.
