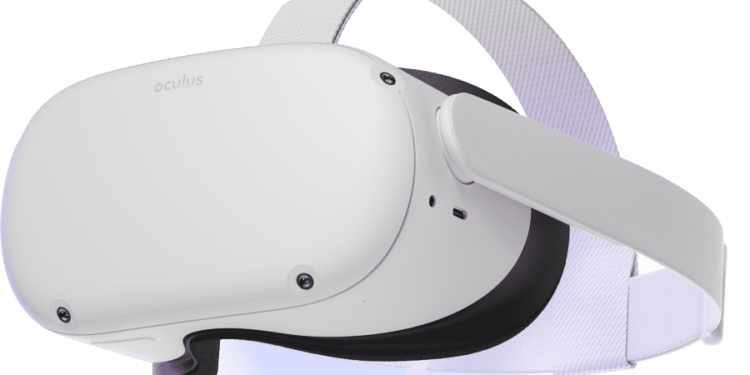
How to use Meta Quest 2? Most users who are embarking for the first time in the world of virtual reality are probably asking themselves this question. In fact, the use of Facebook’s VR headset is generally nothing complicated. Here is the ultimate guide to enlighten laypeople in this matter.
For those who wish to discover the world of virtual reality, and thus afford a VR headset, the Quest 2 from Meta is a good option. This headset from Facebook is considered the best on the market by many users. It is especially appreciated for its all-in-one nature. In order to make the most of its performance and discover its real capabilities, however, it is essential to know how to use it well. Here are exactly the steps to do this.
Overview of the possibilities offered by the Quest 2
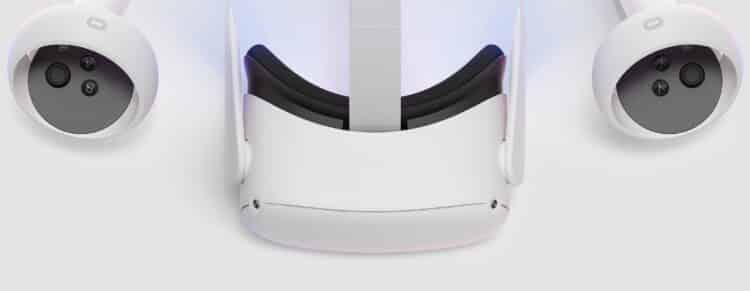
Before you see how to use the Meta Quest 2, it is important to know more about its real capabilities. By putting on this autonomous VR headset, the user can moving physically in simulated environments, but not only.
He can also enter virtual objects. It can even participate to certain scenes instead of just watching the action unfold on a screen. If he has a powerful PC, he can also play recent PC VR games, which are often too resource-intensive for the headset. To do this, simply connect the headset with a USB cable to a computer to take advantage of Meta Link.
Whether you want to play powerful titles, like Half-Life: Alyx, or less greedy games, like Beat Saber, the Quest 2 can therefore always doing the trick. The player can connect it to his PC or enjoy the titles offered in the Meta Quest Store, for example.
First of all, it is advisable to download the Meta application on your Android or iOS smartphone before unpacking the new Meta Quest 2. Then we have to connect to a Facebook account. Before you can use the VR headset, it is therefore imperative to create one, if you haven’t already done so.
Once the initial configuration is complete, we can leave out the phone. Nevertheless, it can still be handy for notifications. The same is true for social features and thepurchase of applications on the Meta Quest Store.
Now it’s high time to unpack the Quest 2.
Unpacking the VR headset and its accessories
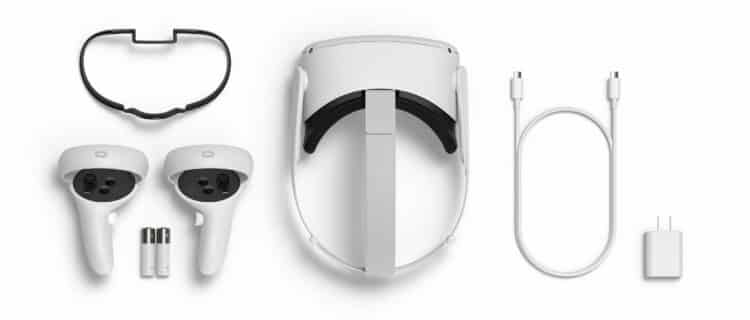
To unpack the Meta Quest 2, there is nothing simpler. First of all, it is enough to pull on the tab to open the plastic box. Then you have to take out the cardboard box before opening it. Now we can see the helmet, all white and all elegant, accompanied by its two controllers and AA batteries to power them.
There is of course also a power adapter, a charging cable and a spacer for glasses. When unpacking the helmet, you must therefore make sure that all these elements are indeed present.
Now it’s time to put on the helmet and turn on its controllers. By pressing and holding the power button visible on the right side of the device, we can see the brand logo. Once the headset is started, it is necessary to press the trigger of each controller to associate it with the headset.
Charging the VR headset
Before using the Quest 2, it is crucial to recharge it, because when unpacking, it is only chargedhalf way. For this, it is necessary above all to think about placing it on a stable surface in order to avoid any accident.
Now, we must connect one end of the cable to the headphones and the other to the adapter before plugging it into a electrical socket.
Once the device is fully charged, the charge indicator turns to green. It is now time to adjust the helmet and the sight.
Proceed to the adjustment of the helmet and the sight
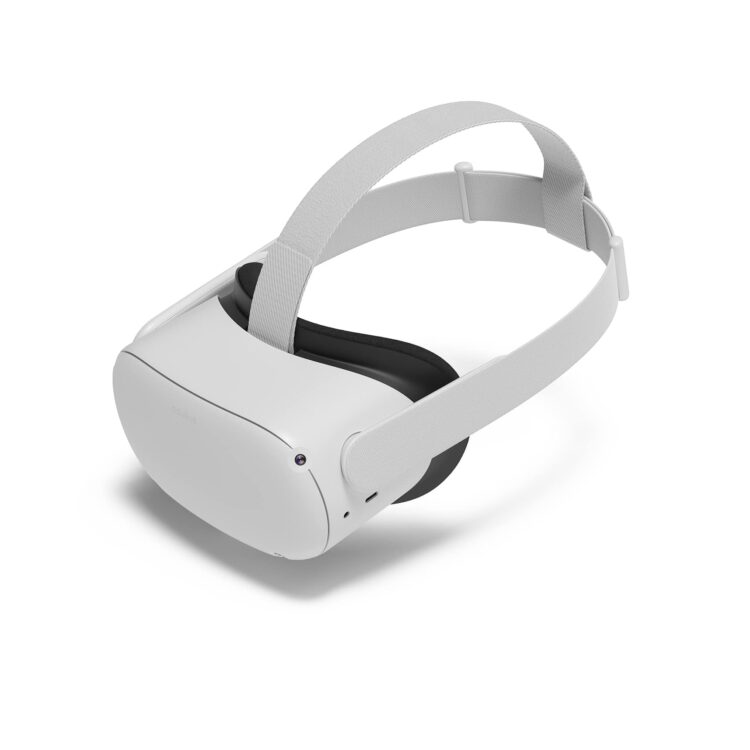
To adjust the Quest 2 on its head, it is necessary first of all to loosen the side straps and the upper strap. Then you have to put on the helmet by putting it on from the back, unless the user is wearing glasses. It is also necessary to fold down the back strap so that it surrounds his neck.
It remains only to tighten, but not too much, the different straps. The idea is to put the helmet on the head and face comfortably without compressing them. As for the adjustment of the view, it is necessary to use both hands to move the device down and up.
Of course, we must stop only when the image is net, and the helmet comfortably placed on the head. For those who wear glasses, it is important to install the spacer for glasses in the helmet before using it. In case the user has difficulty making the image sharp, he can use his left thumb to move the image adjustment notch. This is located at the bottom left of the helmet.
After adjusting the headset, it’s time to create your virtual gaming space. The user is welcomed by the passthrough, an interface that merges the real world with virtual elements.
To draw the boundaries of his playing space, he just has to use the controllers. So it creates a virtual barrier that prevents it from colliding against walls or furniture when playing his favorite games.
Note that these limits are saved by the helmet. So we won’t have to redraw them every time we want to play. The Guardian system is also able to mark dangerous obstacles in red, such as certain furniture. In short, the player is well secured.
It’s time to travel the virtual world
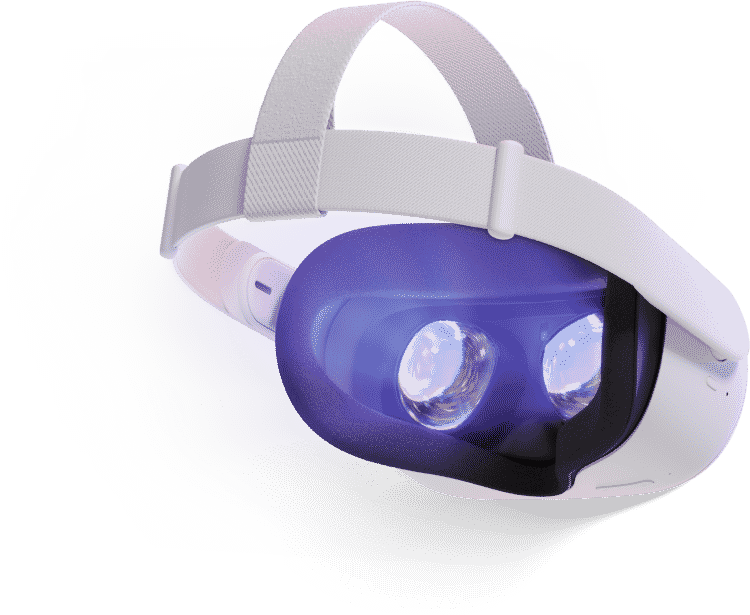
After these few steps, the user now arrives in his Meta home environment. He only has to follow the instructions of the headset to complete his configuration. Moreover, it has the possibility of customize his dashboard as he sees fit.
The menu of course floats in this virtual environment. The individual has the right to six icons in this rather elegant interface. To access each function, he must make three clicks. He can then access his application library, settings, notifications, share and contact his friends.
So it is enough to press on these famous icons to perform actions. Note that the Quest 2 offers all a range of features to the user. For example, he can customize his avatar, chat with his friends, broadcast his game games directly on Facebook, etc.
Exploring the wonders of virtual reality
That’s it, the user can now start exploring the wonders of virtual reality. He can discover how surprising the virtual world is, and can share his experience with his loved ones.
Many experiences are also available on the Meta Quest Store. So there is no shortage of choices there.
However, it should be noted that motion sickness can occur at any time when using a VR headset. If this is the case, it is necessary taking a break at least one hour before putting the device back on and using it again. So here are the answers for those who are wondering how to use the Meta Quest 2.
